
Instruction OLD
-
-
.
-

M
 ark the height
A TexRacks with 40 shelves must be at least 178 cm / 70" from the floor. With 20 shelves, 92 cm / 36" is sufficient.
-

Attach the paper template
Attach the paper template at the correct height and absolutely horizontally using a spirit level. Secure the template to the wall with adhesive tape.
-
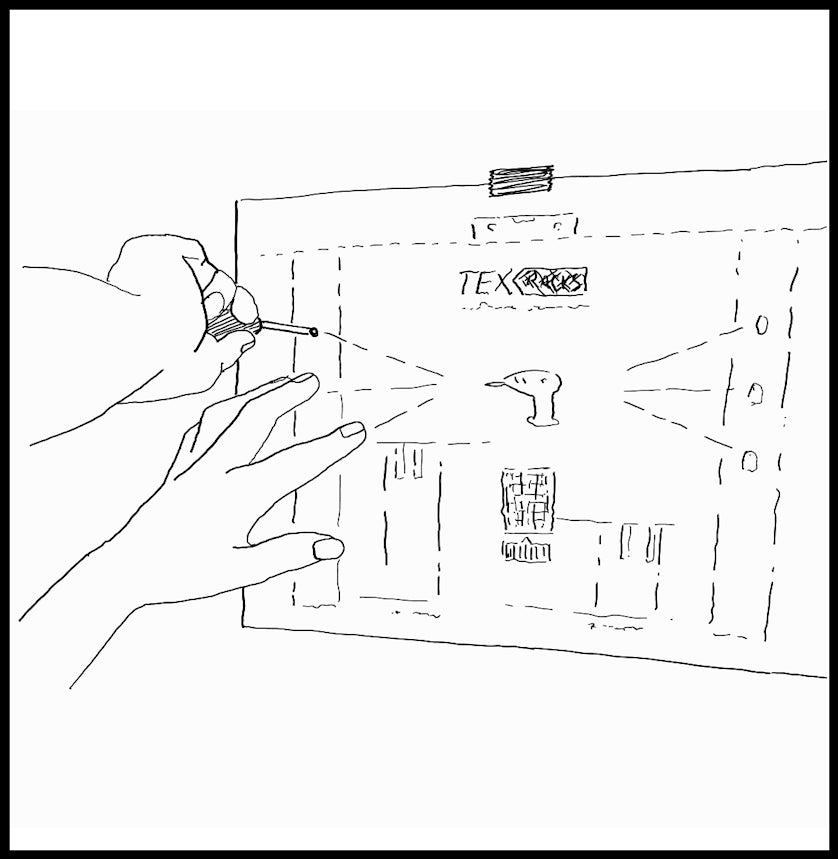
Mark the drilling points
Press the marking points on all 6 drill holes with a screwdriver through the template, making a small mark in the wall.
-
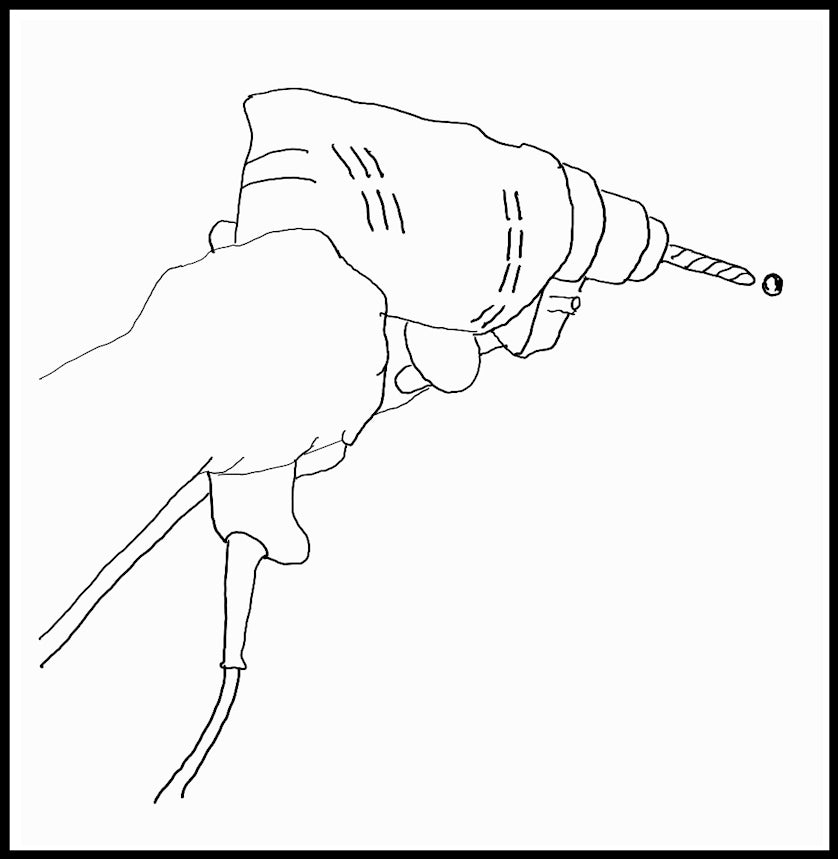
Drill the holes
Drill all 6 holes to attach the metal supports
-
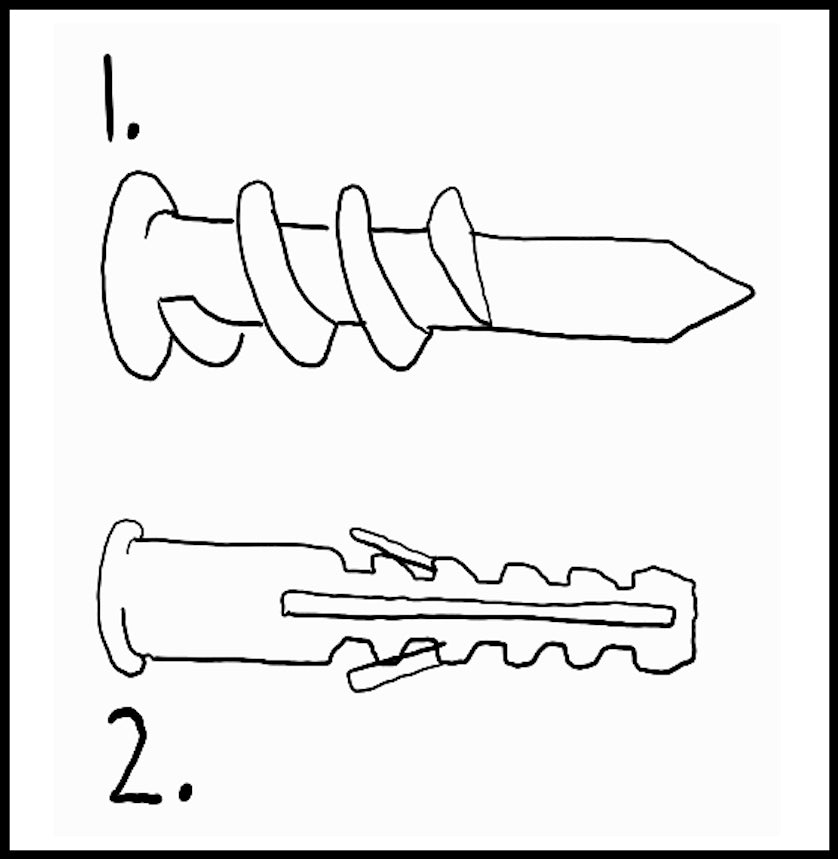
Choose the wall anchors
Choose the right wall anchor for wooden or stone walls.
Drywall anchor 1 is for wooden or drywall.
Masonry anchor 2 is for stone walls. -
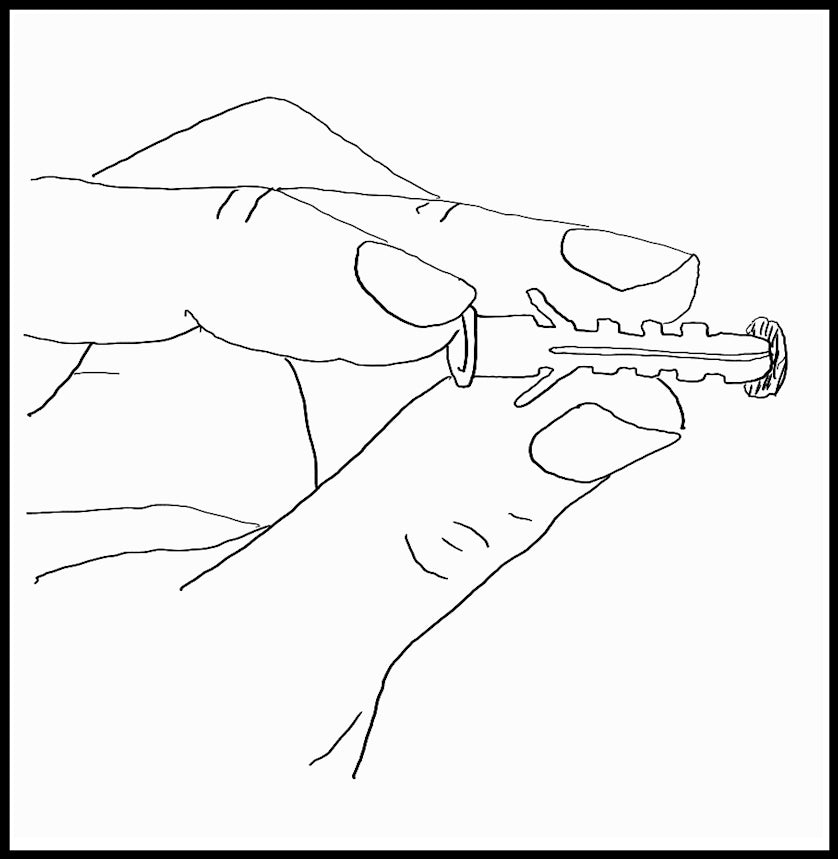
Insert the wall anchors
Insert all 6 wall anchors into the 6 wholes
-
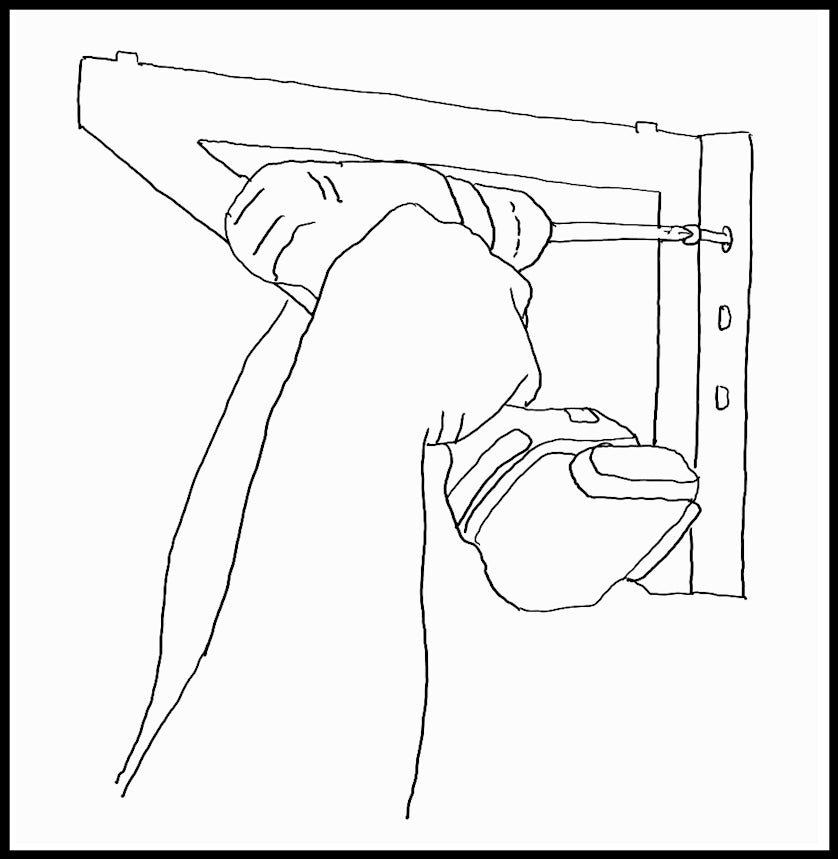
Fastening the metal supports
Screw both metal supports to the wall with 3 screws each
-
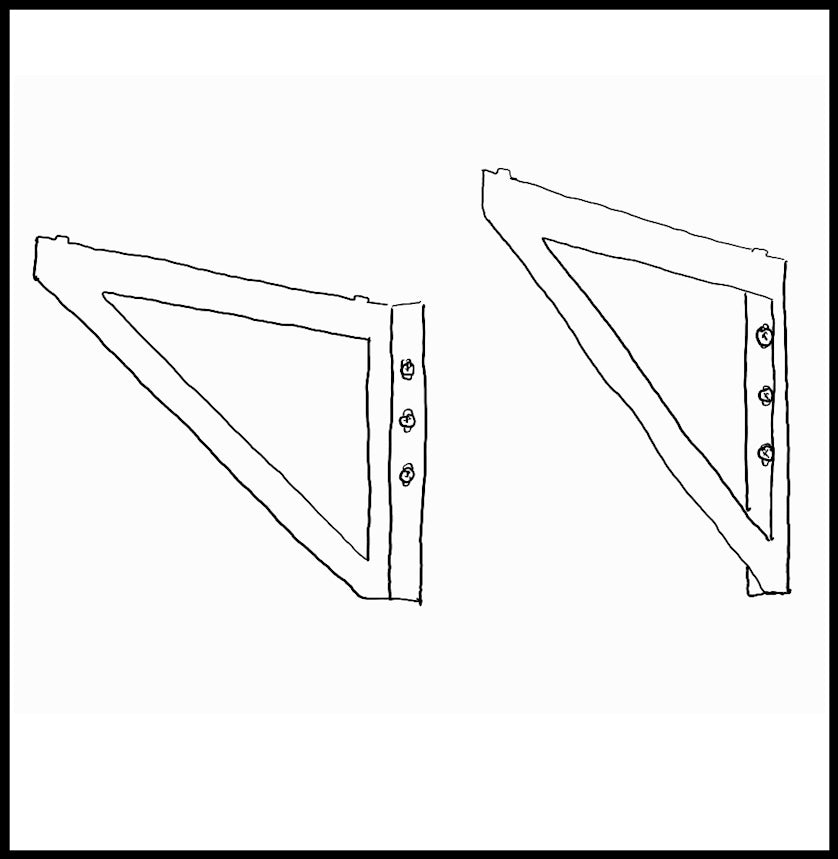
Metal supports finished
This is what your two metal supports on the wall should look like now
-
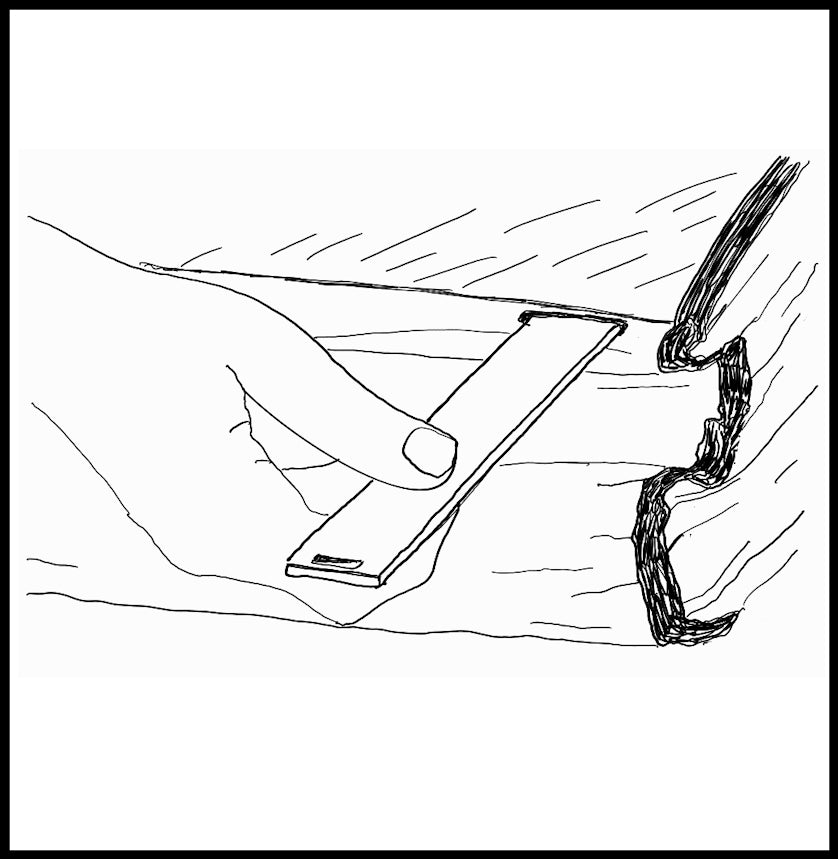
Slide the crossbeam into the fabric shelf
Push both metal crossbeam through the holes in the fabric shelf so that they protrude a few millimeters on the other side
-

Place the fabric shelf on the metal supports
Lift the fabric shelf and place it on the metal supports so that the small pins fit into the holes in the crossbeams.You may need a second person to help you with this process.
-

Insert the shelves
Insert the shelves into the fabric shelf.
Now you're done, and you can properly store your valuable die-cast models.
-